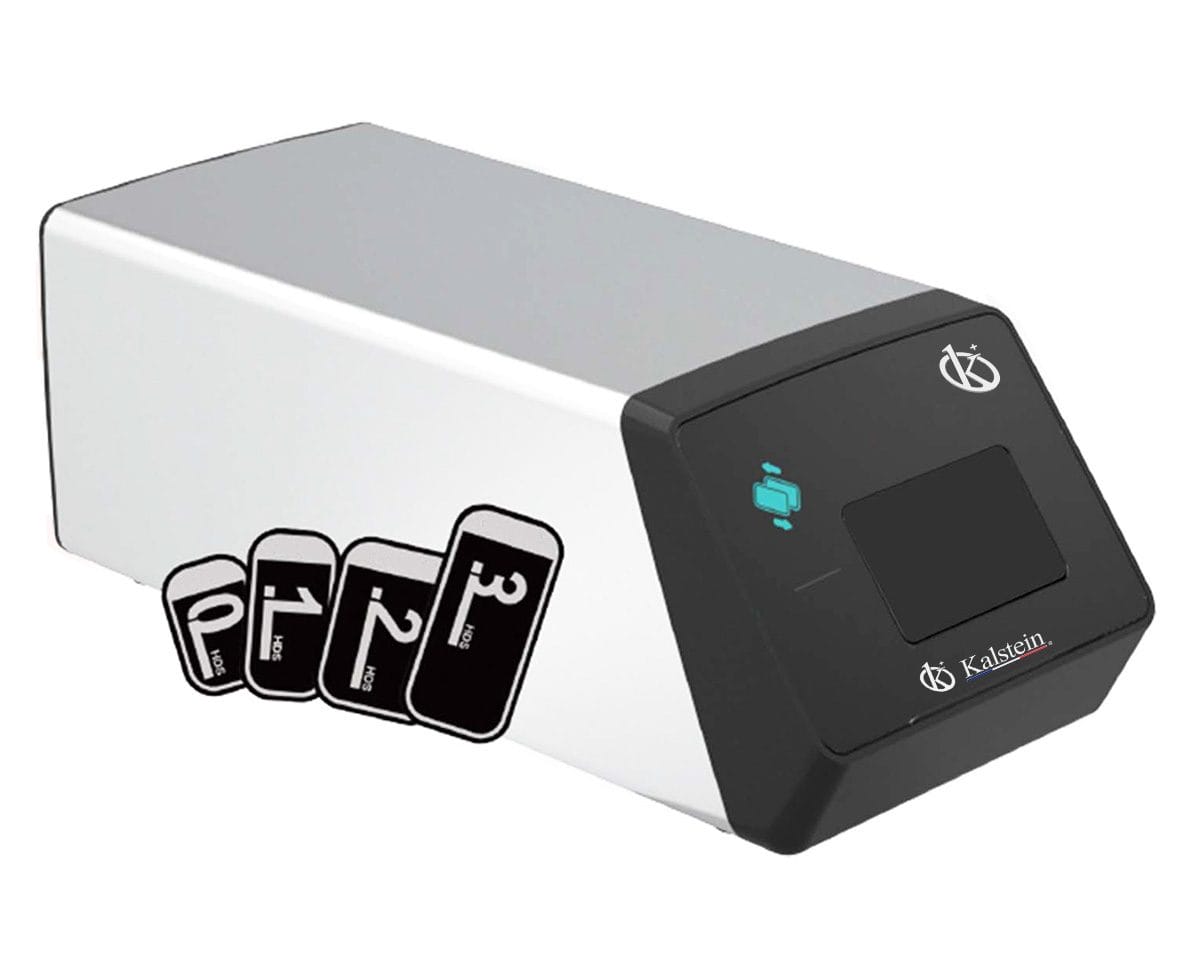
Installation and Commissioning Guide for the YR06197 Digital Intraoral Veterinary X-Ray System
This guide serves as a detailed resource for the installation and commissioning of the YR06197 Digital Intraoral Veterinary X-Ray System. Whether you are a seasoned technician or a new user, understanding the specifics of setting up this advanced veterinary imaging device is crucial for optimal performance and reliability.
Overview of the YR06197 System
The YR06197 Digital Intraoral Veterinary X-Ray System is designed to facilitate mobile and convenient diagnostics in veterinary practices. Its highly integrated design and compact size enable it to deliver powerful functionality while being easy to handle. The system supports four image plate sizes (0, 1, 2, and 3), weighs only 1.5 kg, and provides images five times faster than conventional systems.
Technical Specifications of the YR06197
| Specification | Details |
|---|---|
| Model | YR06197 |
| Tube Voltage | 60KV |
| Exposure Time | 0.1~2s |
| Tube Focus | 0.3mm × 0.3mm |
| Battery | DC14.8V 6400mAh |
| Charger Input Voltage | AC100V-240V:10% |
| Ambient Temperature | 5-40℃ |
| Net Weight | 2.5kg |
| Gross Weight | 4.8kg |
| Dimensions | 330 × 310 × 230 (mm) |
| Tube Current | 1.5mA |
| Frequency | 30KHz |
| Distance from Skin to Cone | 130mm |
| Rated Power | 60VA |
| Output Voltage | DC16.8V |
| Relative Humidity | <75% |
Unboxing and Initial Setup
When you receive your YR06197, it is essential to carefully unbox and check all components against your order list. Make sure nothing is damaged or missing. The following steps outline the initial setup process:
- Unbox the Equipment: Remove all items from the packaging. You should find the X-ray system, battery, charger, and user manual.
- Check Components: Verify the presence of all accessories, including image plates and cables.
- Placement: Choose a stable and appropriate location within your veterinary practice. Ensure it is close to power outlets and within reach of the operating area.
Connecting Power and Initial Calibration
Once the equipment is unboxed, the next step is to connect it to power and undergo initial calibration:
- Connect the Charger: Plug the charger into a power outlet and connect it to the system to ensure it has adequate charge.
- Power Up: Turn on the YR06197 by pressing the power button.
- First Calibration: Follow the on-screen instructions to calibrate the device for optimal performance. This includes adjusting settings for tube voltage and exposure time.
Validation of First Measurement
Once the YR06197 has been calibrated, it is crucial to perform a test measurement to validate the setup:
- Use an Image Plate: Insert an appropriate image plate size into the system.
- Conduct a Test Scan: Perform a test scan on a sample subject, ensuring all settings are correct.
- Review the Image: Check the resulting image for clarity and detail to confirm that the system is functioning properly.
Common Setup Mistakes to Avoid
During the installation and commissioning phase, there are several frequent pitfalls to avoid:
- Not verifying battery charge before initial setup can lead to performance issues.
- Incorrect placement can hinder effective image capture; ensure ample space and stability.
- Failing to calibrate properly may result in poor image quality.
Frequently Asked Questions
What should be included in the unboxing checklist for the YR06197?
When unboxing the YR06197, ensure you have the X-ray system, battery, charger, user manual, and any included image plates. Check for any visible damage before proceeding with setup.
How do I perform the initial calibration on the YR06197?
To calibrate the YR06197, turn on the device, follow the prompts on the screen to adjust the tube voltage and exposure time, and confirm the settings to complete the calibration process.
What are the common symptoms indicating issues during setup?
Common symptoms include the device not powering on, error messages on the display, or unclear images. Each of these can indicate specific setup issues that may require troubleshooting.
What are the recommended environmental conditions for the YR06197?
The YR06197 should be operated in an environment with a temperature range of 5-40℃ and relative humidity below 75%. Ensure adequate ventilation to maintain optimal performance.
How can I ensure proper placement of the YR06197 in my practice?
Place the YR06197 in a stable area, close to power sources, and ensure that it is easily accessible for both operators and patients. Avoid areas with excess vibration or electromagnetic interference.
What steps should I take if the YR06197 shows an error code during operation?
If the YR06197 displays an error code, refer to the user manual for troubleshooting guidance. Common steps include checking connections, ensuring the battery is charged, and recalibrating the system.
How can I request a quote for the YR06197?
To request a quote for the YR06197 Digital Intraoral Veterinary X-Ray System, please contact Kalstein's sales department or visit our website to initiate your inquiry.
If you are looking for a fusion of innovation and quality, you have come to the right place. At Kalstein, we offer you the luxury of exploring our exclusive catalog of laboratory equipment. We manufacture every device to the highest standards of excellence. Our intuitive and seamless online purchasing channels are designed for your convenience, securing the most competitive prices. Hesitate no longer — we bring science to life, it is time to become part of our community.